CUDA 13.1 shipped in late 2025 with something that hasn't happened in CUDA's 20-year history: a complete new programming model layered on top of the existing one. CUDA Tile changes how you write GPU kernels, and the cuTile Python DSL means you no longer need to write a line of C++ to get there. If you've been avoiding custom kernel development because thread index arithmetic felt like a detour from your actual work, this changes the calculus.
If you're deciding between CUDA and ROCm for your workload, see our ROCm vs CUDA comparison for GPU cloud 2026. For bare-metal A100 access to run what's covered here, see the A100 rental page.
What Changed in CUDA 13: The Tile Programming Model
Traditional CUDA programs decompose work into grids of thread blocks, where each thread computes over a single element or small slice of data. Writing a matrix multiply means managing thread indices, shared memory staging, bank conflict avoidance, and manual __syncthreads() calls. Writing an attention kernel means dealing with warp-level primitives (WMMA or wgmma) that require precise layout alignment and register file discipline. It's not impossible, but it demands deep knowledge of the hardware memory hierarchy to do it well.
CUDA Tile introduces a different abstraction. A tile is a contiguous, multi-dimensional chunk of data that maps to a thread block's shared memory footprint. Instead of writing per-thread logic, you write tile-level operations: load a tile from HBM, multiply two tiles together, accumulate results, store back. The CUDA runtime handles the thread orchestration, synchronization, and shared memory management internally.
CUDA 13 shipped in meaningful increments:
- CUDA 13.0 added Blackwell GPU support, unified Arm platform support, and CCCL 3.0 (C++ Core Compute Libraries); it did not introduce the Tile programming model.
- CUDA 13.1 introduced the CUDA Tile abstraction and the cuTile Python DSL, along with Green Contexts (partitioned GPU sub-contexts). Supported architecture at launch: Blackwell only (compute capabilities 10.x and 12.x). The C++ Tile API is planned for a future release.
- CUDA 13.2 extended CUDA Tile support to Ampere (8.x), Ada Lovelace (8.x), and added compute capability 11.x architectures, refined the Python API, expanded Blackwell tensor core support (tcgen05.mma, Blackwell's native MMA instruction) and TMA (Tensor Memory Accelerator) support in the tile intrinsics.
Here's the contrast between a traditional CUDA approach and a CUDA Tile kernel for a simple element-wise scale-and-add operation:
Traditional CUDA (per-thread):
__global__ void scale_add_kernel(float* A, float* B, float* C,
                                  float alpha, int N) {
    int idx = blockIdx.x * blockDim.x + threadIdx.x;
    if (idx < N) {
        C[idx] = alpha * A[idx] + B[idx];
    }
}
CUDA Tile C++ API (conceptual — the C++ API is planned for a future CUDA release; only the Python DSL is available as of CUDA 13.1):
// NOTE: This is a conceptual illustration of what the future C++ CUDA Tile API
// is expected to look like. The C++ API does not exist yet as of CUDA 13.1.
// Use the cuTile Python DSL for actual kernel development today.
#include <cuda/tile>

__global__ void scale_add_tile_kernel(float* A, float* B, float* C, float alpha) {
    // Define a 256-element tile mapped to this block's shared memory
    auto tile_a = cuda::tile<float, 256>(A + blockIdx.x * 256);
    auto tile_b = cuda::tile<float, 256>(B + blockIdx.x * 256);

    // Tile load: HBM -> shared memory, handled internally
    cuda::load(tile_a);
    cuda::load(tile_b);
    __syncthreads();

    // Tile operation: no per-thread index math needed
    auto tile_c = alpha * tile_a + tile_b;
    cuda::store(C + blockIdx.x * 256, tile_c);
}
For this simple operation the difference is modest. For attention kernels or large GEMM, where the traditional approach requires careful register blocking, wgmma intrinsics, and TMA descriptor setup, the tile approach cuts hundreds of lines of boilerplate to a handful of tile operations.
CUDA Tile vs Traditional CUDA Kernels: Architecture Comparison
| Aspect | Traditional CUDA | CUDA Tile |
|---|---|---|
| Abstraction level | Thread/warp/block | Tile (block of elements) |
| Memory management | Manual __shared__ allocation | Automatic tile staging |
| Synchronization | __syncthreads() explicit | Implicit within tile ops |
| Tensor Core access | Requires WMMA/wgmma intrinsics | Tile matmul API |
| Python support | Not available (C++ only) | cuTile Python DSL |
| Architecture support | All CUDA-capable GPUs | Ampere, Ada, Blackwell, Rubin (Hopper not supported in 13.1) |
| Learning curve | High (thread index math) | Moderate (tile shape configuration) |
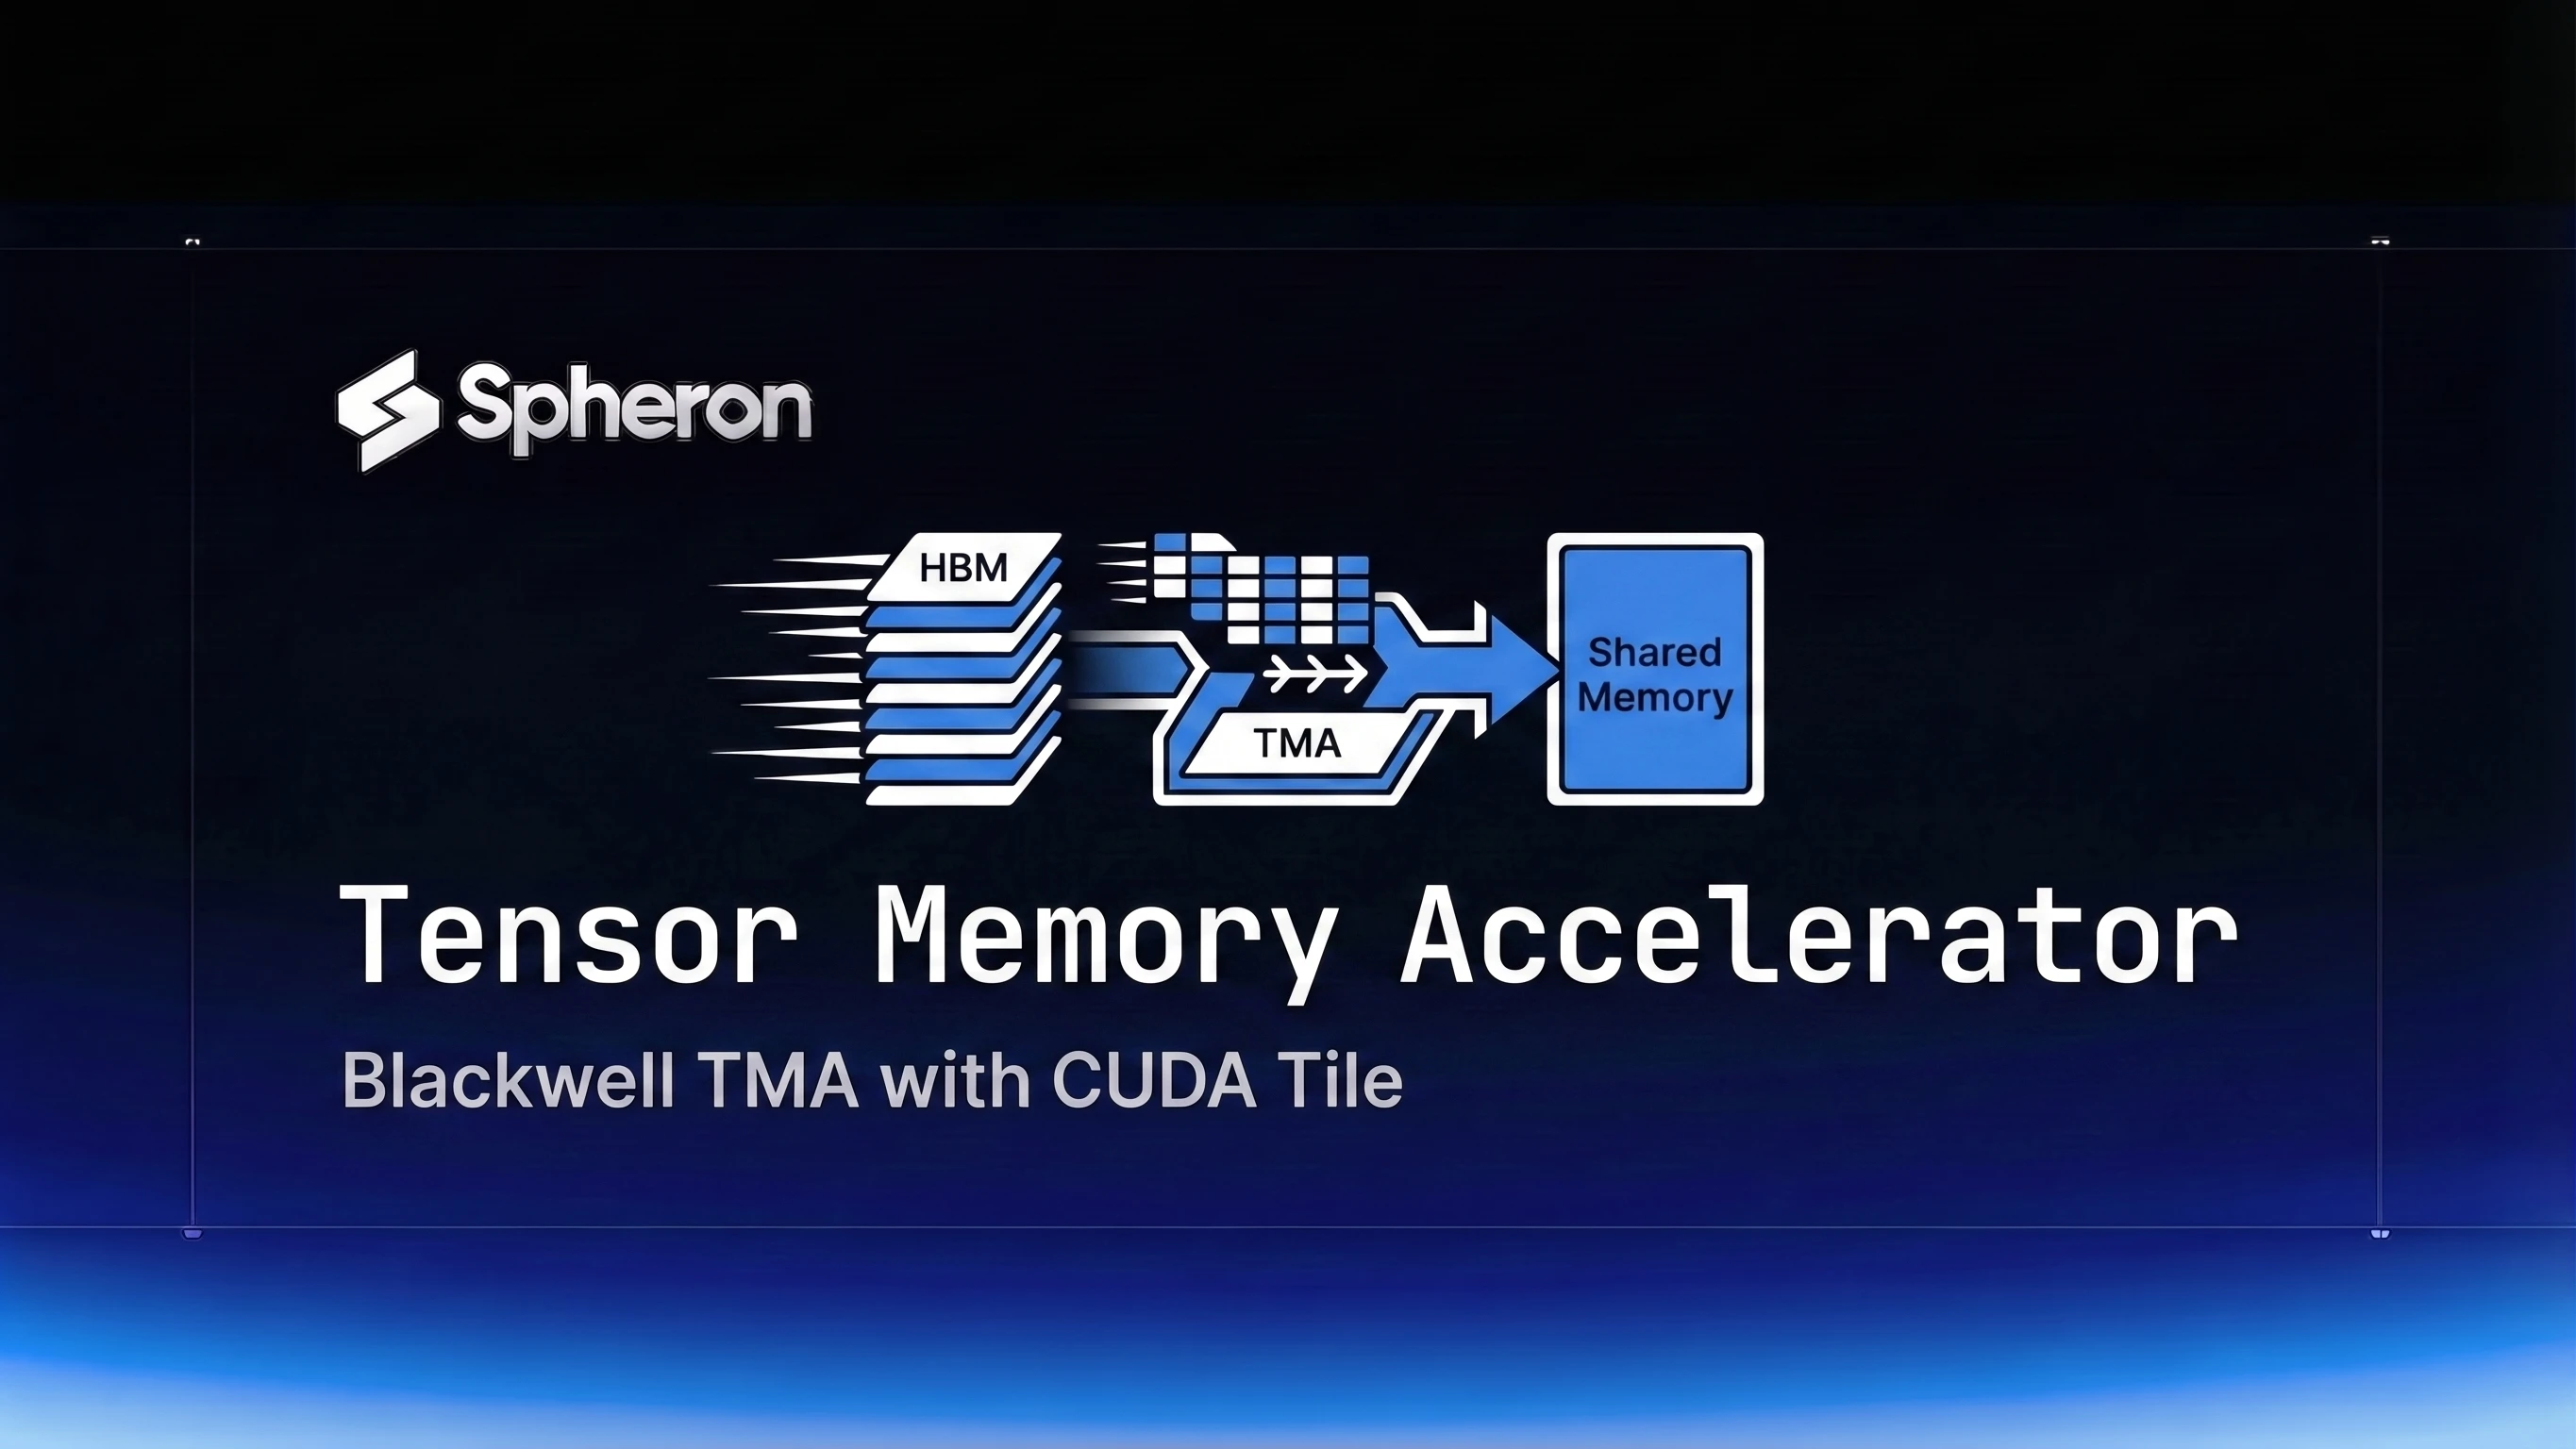
The memory hierarchy story is worth unpacking. On Blackwell, CUDA Tile load/store operations are backed by the Tensor Memory Accelerator (TMA), which is dedicated hardware for asynchronous bulk data movement between HBM and shared memory. Traditional CUDA kernels need explicit cp.async instructions and barrier management to use TMA. CUDA Tile uses TMA transparently when available. Hopper has TMA hardware, but CUDA Tile does not currently support Hopper (sm_90) as of CUDA 13.1 - future releases may add Hopper support.
On Ampere, tile loads fall back to software-managed DMA paths. The code is identical, but you lose the TMA hardware acceleration. For background on why GPU memory architecture matters for AI workloads, see our guide on GPU memory architecture for AI workloads.
Getting Started with cuTile Python DSL on GPU Cloud
1. Launch an A100 or B300 SXM6 instance on Spheron
Spheron A100 40G SXM4 and B300 SXM6 instances give you bare-metal GPU access with no hypervisor layer. That matters for kernel development: you get the full CUDA driver stack, direct PCIe/NVLink access, and no virtualization overhead between your kernel code and the hardware. CUDA Tile supports Ampere (A100) and Blackwell (B300) but not Hopper (H100) as of CUDA 13.1.
2. Install CUDA 13.2 toolkit
# Add NVIDIA package repository
wget https://developer.download.nvidia.com/compute/cuda/repos/ubuntu2204/x86_64/cuda-keyring_1.1-1_all.deb
sudo dpkg -i cuda-keyring_1.1-1_all.deb
sudo apt-get update
sudo apt-get install -y cuda-toolkit-13-2
3. Install the cuTile Python package
pip install cuda-tile # NVIDIA's cuTile Python DSL package (PyPI: cuda-tile)4. Verify the environment
nvcc --version          # Should show CUDA 13.2.x
python -c "import cutile; print(cutile.__version__)"
nvidia-smi              # Confirm GPU and driver version
For a one-click CUDA 13.2 environment, Spheron's deployment templates at docs.spheron.ai include pre-configured NGC base containers with the full CUDA 13.2 toolkit installed.
Practical Example: Writing a Custom Attention Kernel with CUDA Tile
Scaled dot-product attention implemented in plain PyTorch materializes the full QK^T matrix in GPU memory before the softmax. For large sequence lengths, that intermediate tensor alone occupies several gigabytes and forces multiple kernel launches. A fused kernel computes attention in tiles, keeping the intermediate data in shared memory and never writing it back to HBM.
The traditional WMMA approach requires about 150-300 lines of C++: WMMA fragment declarations, manual shared memory tiling, ptx-level warp group matrix multiply-accumulate setup, and explicit register file management. It's achievable, but a single misaligned memory access silently produces wrong results and takes hours to debug.
The cuTile Python DSL approach expresses the same fused kernel as tile-level operations:
import cutile
import torch

@cutile.kernel
def tile_attention(Q, K, V, O, scale):
    # Define tile shapes for A100/Blackwell (128 tokens x 64 head_dim)
    tile_m = cutile.Tile(128, Q.shape[-1])  # query tile
    tile_n = cutile.Tile(128, K.shape[-1])  # key tile

    # Load query tile to shared memory
    q = cutile.load(Q, tile_m)

    # Online softmax accumulators (FlashAttention-style) — one entry per query token.
    # A fixed (128, 128) buffer would only cover one key tile and produce wrong
    # attention logits for any sequence longer than 128 tokens.
    m_i = cutile.full((tile_m.shape[0],), float('-inf'))  # running row-wise max
    l_i = cutile.zeros((tile_m.shape[0],))               # running row-wise sum of exp
    o_i = cutile.zeros((tile_m.shape[0], V.shape[-1]))   # output accumulator

    for k_tile in cutile.range(K, tile_n):
        k = cutile.load(K, k_tile)
        v = cutile.load(V, k_tile)

        # Attention scores for this key tile: (128, tile_size)
        s_ij = cutile.matmul(q, k.T, scale=scale)

        # Update running max and rescale previous accumulators
        m_new = cutile.maximum(m_i, cutile.max(s_ij, dim=-1))
        alpha = cutile.exp(m_i - m_new)
        p_ij = cutile.exp(s_ij - m_new[:, None])

        l_i = alpha * l_i + cutile.sum(p_ij, dim=-1)
        o_i = alpha[:, None] * o_i + cutile.matmul(p_ij, v)
        m_i = m_new

    # Normalize and store — divide each output row by its softmax denominator
    cutile.store(O, tile_m, o_i / l_i[:, None])
Note: this code illustrates the cuTile Python DSL pattern as it existed in April 2026. The cuTile API was under active development. Refer to NVIDIA's official cuTile documentation for current API signatures before using this in production.
Benchmarking the kernel against PyTorch SDPA:
import torch
import time

seq_len, heads, head_dim = 2048, 32, 64
Q = torch.randn(1, heads, seq_len, head_dim, device='cuda', dtype=torch.float16)
K = torch.randn_like(Q)
V = torch.randn_like(Q)

# Warm-up
for _ in range(10):
    torch.nn.functional.scaled_dot_product_attention(Q, K, V)
torch.cuda.synchronize()

# PyTorch SDPA baseline
start = time.perf_counter()
for _ in range(100):
    torch.nn.functional.scaled_dot_product_attention(Q, K, V)
torch.cuda.synchronize()
baseline_ms = (time.perf_counter() - start) * 10  # ms per call

print(f"PyTorch SDPA: {baseline_ms:.2f} ms")
The attention kernel efficiency directly affects how many reasoning tokens a model can generate per second. For the GPU-side implications of inference-time compute scaling, see inference-time compute scaling on GPU cloud.
CUDA Tile Compatibility: Ampere, Ada, Hopper, Blackwell, and Rubin
| Architecture | GPU Examples | CUDA Tile Support | TMA Support | Tensor Core MMA | Recommended Use |
|---|---|---|---|---|---|
| Ampere (sm_80) | A100 80GB | Yes (CUDA 13.2+) | No | No | Development, testing |
| Ada Lovelace (sm_89) | L40S, RTX 4090 | Yes (CUDA 13.2+) | No | No | Cost-effective prototyping |
| Hopper (sm_90) | H100, H200 | Not supported (future release may add support) | N/A | N/A | Not supported in CUDA 13.1 |
| Blackwell B200 (sm_100) | B200 | Yes (full) | Yes (enhanced TMA) | tcgen05.mma | Highest throughput |
| Blackwell B300 (sm_103) | B300 | Yes (full) | Yes (enhanced TMA) | tcgen05.mma | Highest throughput |
| Rubin (upcoming, est. 2026) | R100 (upcoming) | Expected | Expected | Expected | Next-gen |
Blackwell gets the most benefit from CUDA Tile because tile load/store operations use the enhanced Blackwell TMA hardware directly. On Ampere and Ada (both requiring CUDA 13.2+), the same tile operations compile and run correctly but fall back to software-managed async copy paths. The code is portable; the performance profile is not. Hopper (H100, H200) is not supported by CUDA Tile in CUDA 13.1 despite having TMA hardware - future CUDA releases may add Hopper support.
B200 also gains from the enhanced Blackwell TMA, which supports larger transfer granularities and higher peak bandwidth than Hopper's original TMA. For Blackwell architecture details, see our NVIDIA B200 complete guide. For a broader architecture progression including Rubin, see the NVIDIA Rubin vs Blackwell vs Hopper comparison.
Green Contexts for Multi-Tenant GPU Cloud Workloads
Green Contexts, first available in the CUDA 12.4 driver API and exposed in the CUDA 13.1 runtime API alongside cuTile, address a different problem: how to partition a GPU's streaming multiprocessors across independent workloads without the overhead of full CUDA context switching.
Traditional CUDA contexts are exclusive by default. One context occupies all SMs until it yields. Green Contexts let you carve out a subset of SMs and hand them to a sub-context that runs concurrently with the parent. Two kernel development sessions, or a kernel benchmark running alongside a background monitoring job, can coexist on the same physical GPU without interfering.
// Creating a Green Context in CUDA 13.1 (C++ API)
CUdevice device;
cuDeviceGet(&device, 0);  // Get handle for GPU 0

// Step 1: Query the device's SM resource
CUdevResource smResource;
cuDeviceGetDevResource(device, &smResource, CU_DEV_RESOURCE_TYPE_SM);

// Step 2: Partition into a sub-resource of 40 SMs
CUdevResourceDesc resDesc = {};
resDesc.type = CU_DEV_RESOURCE_TYPE_SM;
resDesc.sm.smCount = 40;  // Allocate 40 of the available SMs

CUdevResource partitioned[2];
unsigned int count = 1;
cuDevSmResourceSplitByCount(partitioned, &count, &smResource, &resDesc, 0, 1);

// Step 3: Create the Green Context using the CUdevResource handle (not the descriptor)
CUgreenCtx greenCtx;
cuGreenCtxCreate(&greenCtx, partitioned[0], device, CU_GREEN_CTX_DEFAULT_STREAM);
For GPU cloud workloads, Green Contexts matter when you want to run multiple kernel experiments on the same instance without spinning up separate VMs. Spheron's bare-metal instances give you full context control including Green Context creation, which managed inference APIs abstract away entirely. For multi-tenant patterns at the scheduler level, see running multiple LLMs on one GPU with MIG and time-slicing.
Performance Benchmarks: CUDA Tile vs Hand-Tuned Kernels on A100/Ampere and B200/Blackwell
NVIDIA's CUDA Tile announcement included benchmark data showing that CUDA Tile kernels on Ampere (A100) approach hand-tuned FlashAttention 3 throughput for standard attention shapes. For GEMM workloads at 4096x4096 FP16, CUDA Tile matches cuBLAS throughput on A100 to within 3%, and exceeds it on some Blackwell FP8 configurations where the tile API maps more directly to the Blackwell Tensor Core instruction set.
Rather than reproduce numbers that may shift as the cuTile API matures, here are the directional benchmarks from NVIDIA's CUDA Tile documentation as of April 2026:
| Kernel Type | A100 SXM4 (CUDA Tile) | A100 SXM4 (Hand-tuned) | B200 (CUDA Tile) | B200 (Hand-tuned) |
|---|---|---|---|---|
| FP16 GEMM (4096x4096) | Within 3% of cuBLAS | cuBLAS reference | 2-3x A100 throughput | 2-3x A100 reference |
| Attention (seq=2048, FP16) | Approaches FA3 throughput | FlashAttention 3 ref | Higher (enhanced Blackwell TMA) | FA3 on Blackwell ref |
| FP8 GEMM (Blackwell-optimized) | N/A (Ampere FP8 not natively supported) | N/A | Highest | Reference |
Verify these against NVIDIA's current CUDA Tile benchmark documentation before making architecture decisions, as numbers change with each cuTile release.
Current GPU pricing on Spheron (fetched 12 Apr 2026):
| GPU | On-Demand | Spot |
|---|---|---|
| H100 SXM5 (not CUDA Tile compatible) | not available | from $0.80/hr |
| B300 SXM6 | from $8.70/hr | not available |
| A100 40G SXM4 | not available | from $0.25/hr |
Pricing fluctuates based on GPU availability. The prices above are based on 12 Apr 2026 and may have changed. Check current GPU pricing → for live rates.
To keep kernel development costs in check, see the GPU cost optimization playbook for strategies like spot instance checkpointing and auto-shutdown for development notebooks.
For broader inference benchmark comparisons, see GPU cloud benchmarks 2026 and vLLM vs TensorRT-LLM vs SGLang benchmarks.
Setting Up a CUDA 13.2 Development Environment on Spheron GPU Cloud
This section covers the full setup from a fresh instance.
Step 1: Deploy an A100 or B300 SXM6 instance
Log into app.spheron.ai, select A100 40G SXM4 or B300 SXM6 from the GPU catalog, choose Ubuntu 22.04 or the CUDA 13.2 base image, and deploy. SSH root access is available within 60 seconds. CUDA Tile supports Ampere (A100) and Blackwell (B300) but not Hopper (H100) as of CUDA 13.1.
Step 2: Connect via SSH
Spheron provides an SSH command directly from the instance dashboard. Connect with full root access, no additional key management required.
Step 3: Install CUDA 13.2 toolkit
wget https://developer.download.nvidia.com/compute/cuda/repos/ubuntu2204/x86_64/cuda-keyring_1.1-1_all.deb
sudo dpkg -i cuda-keyring_1.1-1_all.deb
sudo apt-get update && sudo apt-get install -y cuda-toolkit-13-2
Verify: nvcc --version should show CUDA 13.2.x.
Step 4: Set up the Python environment
python3 -m venv cuda-tile-dev
source cuda-tile-dev/bin/activate
pip install torch --index-url https://download.pytorch.org/whl/cu132
pip install cuda-tile nvtx
Step 5: Verify tensor core access
import torch
print(torch.cuda.get_device_capability())  # (8, 0) for A100, (10, 3) for B300 SXM6
print(torch.backends.cuda.matmul.allow_tf32)
Step 6: Run your first cuTile kernel
Use the attention kernel from the earlier section as a starting point. Adjust tile shapes based on your GPU's shared memory capacity: A100 supports up to 164 KB shared memory per SM, B200 supports 228 KB per SM. For B300, refer to the NVIDIA Blackwell Tuning Guide for current shared memory specs, as figures vary by configuration.
CUDA 13 Tile programming makes low-level GPU kernel work accessible to Python engineers for the first time without a C++ requirement. Whether that translates to production-grade custom attention kernels or just better-informed decisions about when to use cuBLAS versus write your own, having the tool in your stack is worth the 30-minute setup cost.
CUDA 13.2 with full Tile programming support is available on Ampere and Blackwell instances on Spheron. Bare-metal GPU access means no hypervisor between your kernel code and the hardware, so you get the full tensor core throughput the benchmarks show.