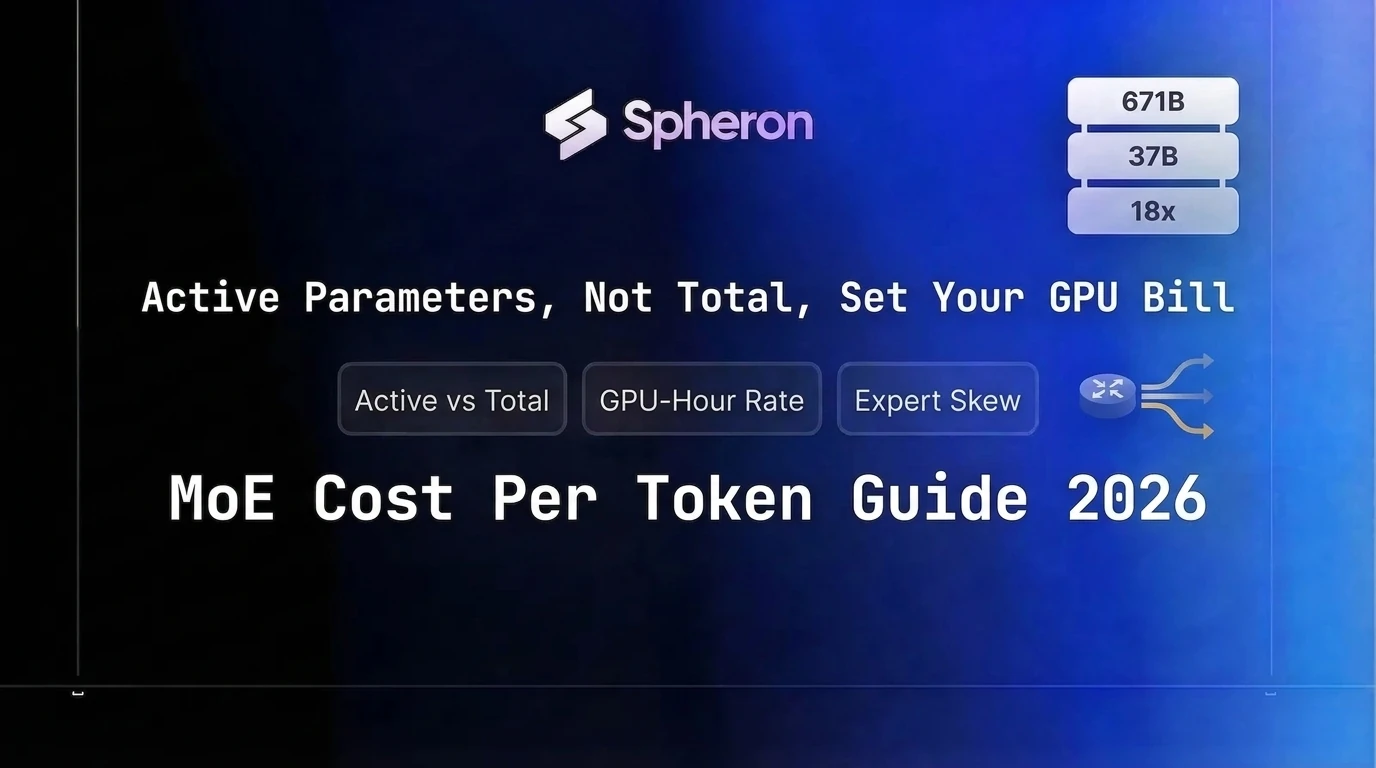
DeepSeek-V3 lists 671B total parameters and 37B activated per token. Every deployment guide treats that 37B as the number that sets your GPU bill, and in the compute-bound limit it roughly does. But the model card's active-parameter figure is a starting estimate for cost per token MoE math, not the final answer. Two things it never accounts for, shared-layer overhead that pushes the real active count above the headline number, and hot-expert skew that collapses the compute advantage back into a memory-bandwidth bill, decide what you actually pay per million tokens once real traffic hits the cluster.
TL;DR: Cost Per Token MoE, What Actually Sets the Price
- Active parameters drive compute, total parameters drive VRAM. DeepSeek-V3 needs VRAM for 671B parameters but computes near a 37B model's rate, per DeepSeek.
- Formula: cost per million tokens = (GPU $/hr) ÷ (tokens/sec × 3,600 ÷ 1,000,000). Active parameters cap the ceiling only.
- Spheron prices H200 on-demand at $4.80/hr and spot at $2.88/hr as of 25 Sep 2026, the tier most DeepSeek-class MoE models need. Compare live rates.
How Routing Turns a 671B Model Into a 37B-Sized Compute Bill
A dense transformer runs every one of its parameters on every token. A 70B dense model does 70B-parameter worth of matrix multiplies on every forward pass, full stop. A Mixture-of-Experts model breaks that link. Instead of one feed-forward block per layer, an MoE layer holds N separate expert feed-forward networks plus a small router network. The router scores each incoming token against all N experts and sends the token to only the top-K highest-scoring ones; their outputs get combined and passed forward. Everything else in the model, including the attention layers, the embedding table, and (in many designs) one or more always-on shared experts, still runs on every token.
DeepSeek-V3 is the clearest public example of what this buys you. It's a 671B-total-parameter Mixture-of-Experts model built on Multi-head Latent Attention and DeepSeekMoE, but it activates only 37B parameters per token, according to DeepSeek's own technical report. The representational capacity, and the VRAM bill, belong to all 671B parameters. The per-token compute bill belongs almost entirely to the 37B that actually run.
That gap shows up directly in training economics too, which is the closest thing to an independently reported efficiency number for this exact architecture: DeepSeek reports its full training run, pre-training through post-training, at 2.788M GPU hours on H800 hardware, which the paper prices at roughly $5.576M. A dense model with 671B parameters trained the same way would cost a large multiple of that, because every token would have touched all 671B parameters instead of 37B. Sparse routing is what makes that number possible, and it's the same mechanism that sets your inference bill once the model is deployed.
Model cards for other recent MoE releases follow the same split. GLM-4.5 runs 355B total parameters against 32B active, and its successor GLM-5 scales to 744B total with 40B active, according to Zhipu AI's GLM-5 technical report. Our own MoE inference optimization guide has a fuller model-by-model table, including Kimi K2's roughly 1T-total, 32B-active configuration and DeepSeek V3.2 Speciale's expert count and top-K routing, for readers who want the deployment-level detail behind these headline figures.
The Formula: Why Active Parameters, Not Total, Drive Your GPU-Hour Rate
Active parameters, not total parameters, set your GPU-hour rate because inference compute scales with the parameters that actually run the forward pass, and cost per token is that compute cost divided by throughput. Swap "parameters" for "active parameters" in that formula and a 671B-total MoE model with 37B active computes almost exactly like a 37B dense model would, per token.
That FLOPs relationship feeds directly into the cost formula our cost per million tokens guide covers in full: cost per million tokens = (GPU cluster $/hr) ÷ (measured tokens/sec × 3,600 ÷ 1,000,000). Active parameters don't appear in that formula directly. They set the ceiling on the denominator: fewer active parameters means less compute per token, which means higher achievable tokens/sec on the same hardware, which means a lower cost-per-million figure, provided the deployment is actually compute-bound rather than memory-bound. Whether it is depends on batch size and expert load balance, which is exactly where the naive active-parameter shortcut runs into trouble later in this post.
MoE vs Dense at the Same $/Hour: A Worked Comparison
Here's the comparison stripped down to the FLOPs identity, holding hardware and hourly cost constant. Suppose you rent an 8x H200 141GB cluster, the VRAM tier DeepSeek-class models need to hold every expert at FP8. A dense model with 671B total parameters would need that same cluster just to fit its weights, and because it's dense, every one of those 671B parameters runs on every token: 2 × 671B × tokens FLOPs per forward pass. DeepSeek-V3, at 671B total and 37B active, needs the identical VRAM tier to hold its experts, but its forward pass costs roughly 2 × 37B × tokens FLOPs, about 18x fewer FLOPs per token (671 ÷ 37 ≈ 18.1).
In the compute-bound regime, where the GPU cluster is saturated with enough concurrent requests that FLOPs, not memory bandwidth, is the bottleneck, throughput scales roughly inversely with FLOPs per token. That means the MoE model can push on the order of 18x more tokens/sec through the same 8-GPU cluster than a dense model with the same total parameter count would, and dividing the same hourly rental cost by roughly 18x the throughput gets you to a cost per token in the same ballpark fraction, before the caveats in the next two sections eat into it.
The catch already visible here: MoE didn't shrink your GPU bill. You're renting the same 8x H200 cluster either way, because VRAM is sized off total parameters, not active ones. What MoE buys you is more tokens out of that same hourly spend, which is a real advantage, but a different one than "the GPU rental is cheaper." For a head-to-head across three shipped model families with concrete hardware tiers and license terms, our DeepSeek V3.2 vs Llama 4 vs Qwen 3 comparison runs this same active-vs-total logic against real deployment configurations rather than a single hypothetical dense baseline.
Cost Per Token MoE Comparison: DeepSeek, Kimi, and GLM-Class Models
Sparsity ratio, total parameters divided by active parameters, is a fast way to see how much compute headroom each model's architecture buys you before VRAM and batching effects narrow the gap.
| Model | Total Params | Active Params | Sparsity Ratio | Source |
|---|---|---|---|---|
| DeepSeek-V3 | 671B | 37B | ~18.1x | DeepSeek technical report |
| DeepSeek V4-Flash | 284B | 13B | ~21.8x | DeepSeek V4-Flash deployment guide |
| GLM-4.5 | 355B | 32B | ~11.1x | GLM-5 technical report |
| GLM-5 | 744B | 40B | ~18.6x | GLM-5 technical report |
| Kimi K2 | ~1,000B | ~32B | ~31x | MoE inference optimization guide (linked above) |
Two things stand out. First, sparsity ratio and total size don't move together: GLM-5 nearly doubled GLM-4.5's total parameter count but kept a similar active-parameter footprint, pushing its sparsity ratio from ~11x to ~18.6x, which is a larger compute-efficiency gain than the raw parameter-count jump suggests. Second, DeepSeek V4-Flash's ~21.8x ratio, at a much smaller absolute size than DeepSeek-V3, is the more agentic-friendly configuration: our V4-Flash deployment guide (linked in the table above) covers running it on 4x H100 SXM5 or 4x H200 SXM5, a fraction of the 8-GPU footprint DeepSeek-V3-class models need.
None of these ratios translate directly into a $/M-token figure without a measured throughput number, which is exactly the gap the next section covers: the sparsity ratio tells you the compute-bound ceiling, and two real-world effects keep production traffic from reaching it.
Where the Formula Breaks: Expert Skew, Shared Layers, and the VRAM Tax
The active-parameter shortcut assumes two things that production traffic rarely delivers cleanly: that the active-parameter number on the model card is the complete per-token compute cost, and that your batch is large and well-distributed enough to actually run in the compute-bound regime the FLOPs math above assumes. Both assumptions have a real failure mode.
The "Active Parameters" Number on the Model Card Is Already Wrong
Most published active-parameter figures count the routed feed-forward experts and stop there. They don't add back the attention layers, the embedding and output projection tables, or any always-on shared experts, all of which process every token regardless of what the router decides. Cerebras's MoE cost calculator found this exact gap in Mixtral 8x7B: despite a name that implies roughly 7B active parameters, the model actually activates about 13B parameters per token. The name undercounts real per-token compute by nearly 2x.
The practical takeaway isn't that every model card is wrong by a specific factor: DeepSeek's own 37B figure for V3 is the number the technical report itself reports as activated, not a naming shorthand like Mixtral's. It's that a headline active-parameter number is worth checking against the architecture (how many always-on shared experts, how large the attention and embedding stack is relative to the routed FFN block) before you plug it into a cost projection, especially for any model whose active-parameter figure reads suspiciously close to a round marketing number.
Hot Experts Ruin the Batch-Size Math That Makes MoE Cheap
The ~18x compute advantage in the worked comparison above assumes the cluster is compute-bound: enough concurrent requests in flight that GPU FLOPs, not memory bandwidth, is the bottleneck. Decode-stage LLM inference at low batch size is almost never compute-bound: it's memory-bandwidth-bound, because generating one token at a time means the GPU spends most of its cycles streaming weights out of VRAM rather than doing math on them.
That statistic is the crux of why the active-parameter shortcut breaks in production. If a batch of concurrent requests routes to many different experts (which is likely whenever traffic isn't perfectly uniform, and close to certain when one or two experts get disproportionately hit by a skewed request distribution, a failure mode commonly called "hot experts"), the GPU has to stream far more than 37B parameters' worth of weights out of memory per batch, even though the FLOPs count per token stayed low. Compute cost and memory-bandwidth cost are two different bills, and the active-parameter number only ever discounts the first one. Our MoE inference optimization guide covers the operational side of this: it recommends monitoring per-expert token routing in production and treating anything above roughly 40% of tokens landing on one expert as expert collapse, the signal that your real cost per token has drifted well above what the active-parameter math promised.
Picking GPUs for MoE Inference: What Actually Changes vs a Dense Model
Two different numbers drive two different decisions, and conflating them is the single most common MoE sizing mistake:
- Total parameters set your VRAM tier and GPU count. Every expert's weights must stay resident in device memory because the router can dispatch to any of them on any token, so a 671B-total model needs VRAM for 671B parameters no matter how few of them activate per forward pass. That's the same 8x H200 141GB class of cluster a 671B dense model would need. Small sparse models flip this in your favor: a 57B-total, 14B-active model fits comfortably on a single H100 80GB, because the total, not the active count, is what has to fit.
- Active parameters set your compute-bound throughput ceiling. Given enough concurrent, well-distributed traffic to actually reach that ceiling, active parameters are what determine how many tokens/sec a given GPU tier can push, and therefore the floor on your cost per million tokens.
- Batch size and expert load balance decide whether you reach that ceiling. Low concurrency or skewed routing pushes you back toward the memory-bandwidth-bound regime described above, where the active-parameter advantage barely shows up. Size your batch, and monitor per-expert routing, before you assume the sparsity ratio in the table above is your real cost multiplier.
For the parallelism strategy that actually gets a MoE model running efficiently once you've picked a GPU tier, expert parallelism versus tensor parallelism versus the hybrid approach large models need, our MoE inference optimization guide (linked above) covers vLLM and SGLang configuration in detail, and Spheron's docs cover provisioning a multi-GPU cluster to start measuring your own tokens/sec against the formula above.
Spheron aggregates on-demand and spot GPU rental live across 5+ GPU cloud providers through certified data centers, with per-minute billing and no long-term contracts, spanning the tiers MoE models actually need: A100 80GB for small sparse models up through H100, H200, B200, and B300 for DeepSeek, GLM, and Kimi-class clusters. As of 25 Sep 2026, H200 runs $4.80/hr on-demand and $2.88/hr on spot, and B200 runs $8.26/hr on-demand and $4.29/hr on spot. Both tiers feed the numerator of the cost-per-token formula above, so price whichever fits your latency tolerance against your own measured throughput rather than assuming one tier is always cheaper.
Pricing fluctuates based on GPU availability. Spheron rates above are live as of 25 Sep 2026; third-party rates elsewhere in this post reflect their most recently published figures and may have changed since.
Spheron rents raw GPU infrastructure, not a managed inference endpoint. If you'd rather skip self-hosting and the vLLM or SGLang expert-parallel configuration entirely and just pay a per-token API rate, a hosted inference provider is the better fit, and our LLM API cost comparison covers that side of the decision. The cost-per-token figures this post derives all assume you're running your own serving stack; the GPU-hour rate is only half of the formula, and the formula doesn't care which provider you rent that hour from.
Whichever GPU tier your sparsity ratio and batch size point you toward, Spheron gives you the raw cluster to go measure your own tokens/sec against it.
Check H200 availability on Spheron → | A100 80GB for small MoE models → | Get started on Spheron →
Frequently Asked Questions
Divide your GPU cluster's dollar-per-hour rate by measured tokens per second, then scale to a million: cost per million tokens = (cluster $/hr) / (tokens/sec x 3,600 / 1,000,000). DeepSeek V3's 671B total, 37B active parameter count needs roughly the same 8x H200 141GB VRAM footprint as a dense 671B model, so the number that actually moves is throughput, not the hourly rate. Spheron's H200 SXM5 on-demand rate is $4.80/hr as of 25 Sep 2026, with spot at $2.88/hr; an 8-GPU cluster multiplies that per-GPU figure by 8, and the achieved tokens/sec (which depends on batch size and expert load balance, not just the active-parameter count) is what turns that hourly rate into a real per-token price.
Each MoE layer replaces one dense feed-forward block with N separate expert feed-forward networks plus a small router network. For every token, the router scores it against all N experts and forwards the token only to the top-K highest-scoring experts, whose outputs get combined and passed to the next layer. Attention layers, embeddings, and (in many architectures) one or more always-on shared experts still process every token regardless of routing, which is why the active-parameter figure on a model card is a floor, not the complete per-token compute cost.
A dense model activates every one of its parameters on every token, so total parameters and active parameters are the same number, and that one number sets both your VRAM requirement and your compute cost. A MoE model splits those two jobs: total parameters (all experts combined) set the VRAM you need, because every expert's weights must stay resident in case the router picks it, while active parameters (the experts actually selected per token) set the compute cost, because only those weights do FLOPs on that forward pass. DeepSeek-V3 needs VRAM for 671B parameters but computes at roughly the rate of a 37B model, per DeepSeek's own technical report.
Because most published active-parameter figures count only the routed feed-forward experts, not the attention layers, embedding table, and any shared experts that process every token regardless of routing. Cerebras's MoE cost calculator found that Mixtral 8x7B, despite the name implying roughly 7B active parameters, actually activates about 13B parameters per token once those shared layers are added to the two routed experts. Treat a model card's active-parameter number as a starting estimate to verify against the architecture, not a figure to plug straight into a cost formula.
Only when your traffic has enough concurrent volume for the router to spread requests across experts efficiently. At low batch size, decode is memory-bandwidth bound, not compute bound: Cerebras measured a Qwen3 30B-total, 3B-active MoE spending over 99.5% of decode time moving weights from memory and under 0.5% on actual compute. In that regime, the low active-parameter count barely matters, because the bottleneck is loading whichever experts got hit, not doing math on them. The active-parameter cost advantage shows up at production batch sizes, not at batch size one.